Face Generator: Interactive Portrait Drawing with Compute Shaders (GPU) in p5.js

- 2026-09-24
- p5.js, Compute Shader, WebGPU, Particle System
Face Generator: Interactive Portrait Drawing with Compute Shaders (GPU) in p5.js
本文介紹一個使用 p5.js 與 WebGPU compute shader 建立的互動式臉部生成器。手繪肖像被表示為多組曲線與點資料。不同角度的臉部先在 Procreate 與 Rhino/Grasshopper 中整理,再以臉部、線條與點的階層儲存為 JSON。Compute shader 讓大量粒子可以平行更新,noise 與線條參數則產生類似蠟筆的手繪質感。水平移動滑鼠會切換不同角度的臉部,使肖像看起來正在旋轉。本研究探索 GPU 粒子系統如何同時支援即時互動與手繪視覺語言。
This article presents an interactive face generator built with p5.js and WebGPU compute shaders. A hand-drawn portrait is represented as a collection of curves and point data. Multiple face views are prepared in Procreate and Rhino/Grasshopper, then organized as faces, lines, and points in JSON. A compute shader updates many particles in parallel, while noise and style parameters create crayon-like line qualities. The horizontal mouse position selects different face views, producing the illusion of a rotating portrait. This study explores how GPU particle systems can combine responsive interaction with a hand-drawn visual language.
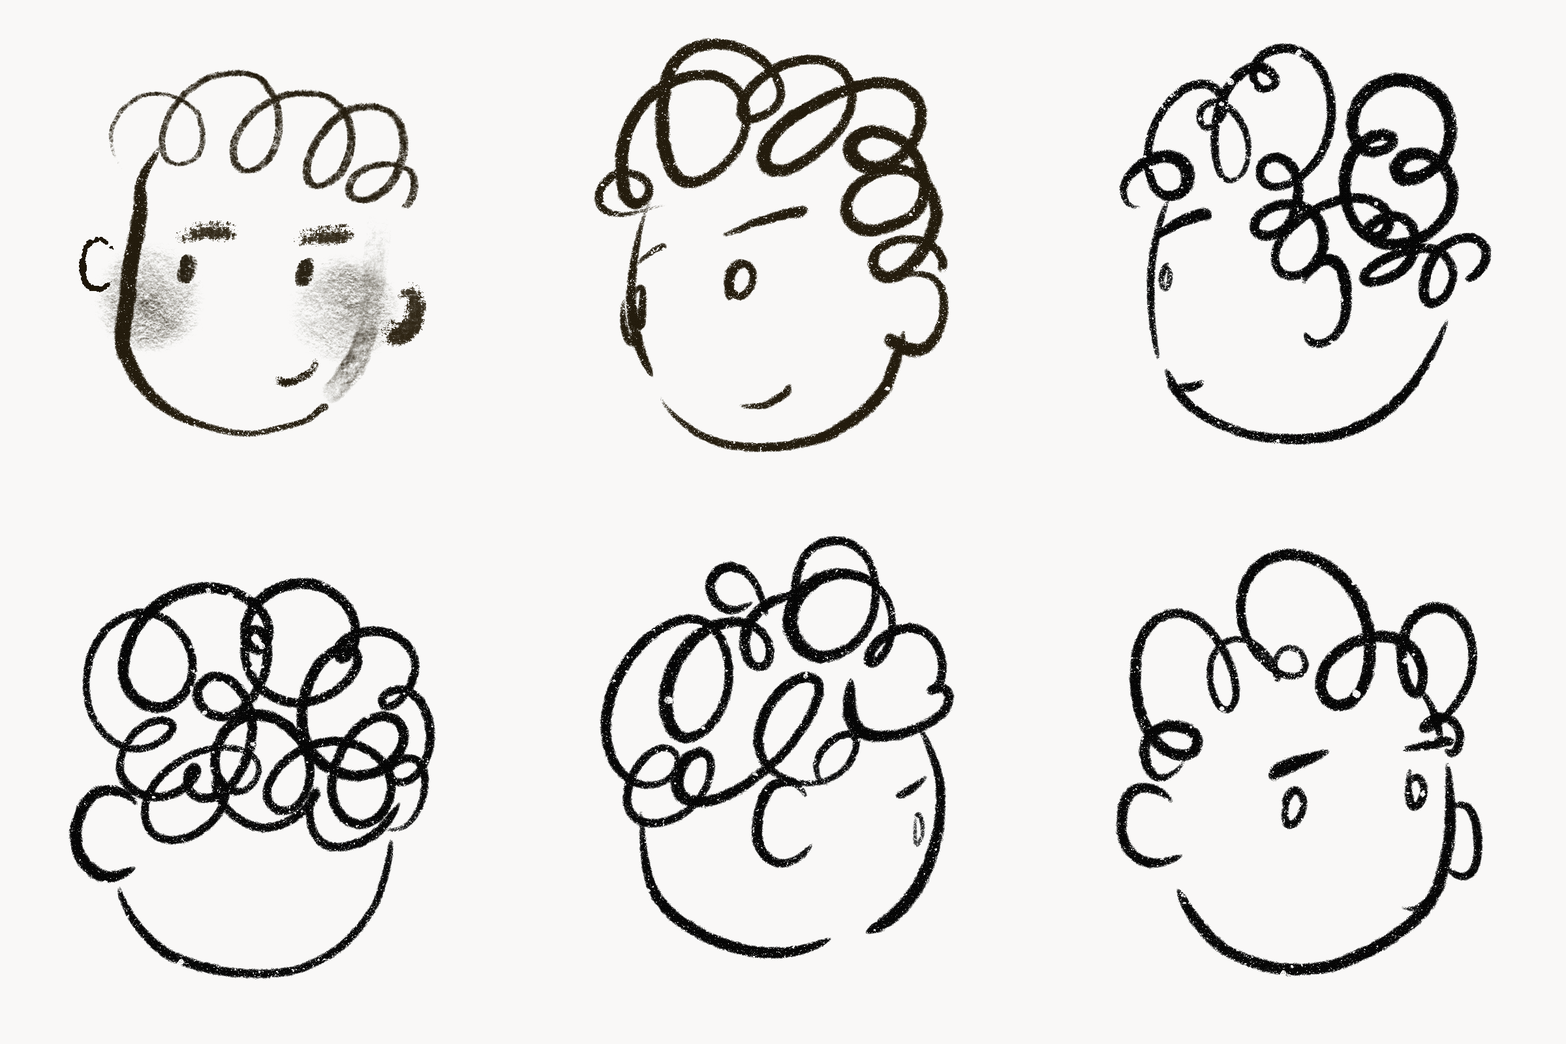
Idea and Design Sketches
The project began with three goals:
- Create a two-dimensional, hand-drawn, crayon-like style.
- Create the illusion of three-dimensional rotation when the mouse moves horizontally.
- Explore a compute shader for controlling many particles in real time.
Result and Reflection
View the interactive sketch on OpenProcessing This was my first experiment using a compute shader to control a particle system. I am interested in point clouds, 3D Gaussian splatting, and visual patterns made from many small elements. Before this study, it was difficult for me to draw and interact with a large number of points in real time.
The main challenge was deciding which calculations should remain on the CPU and which should move to the GPU. The CPU prepares the face, line, and style information. The GPU updates the particle positions every frame. This division gave me a clearer way to think about future experiments with cellular automata and other algorithms in p5.js.
Compute Shader Experiments
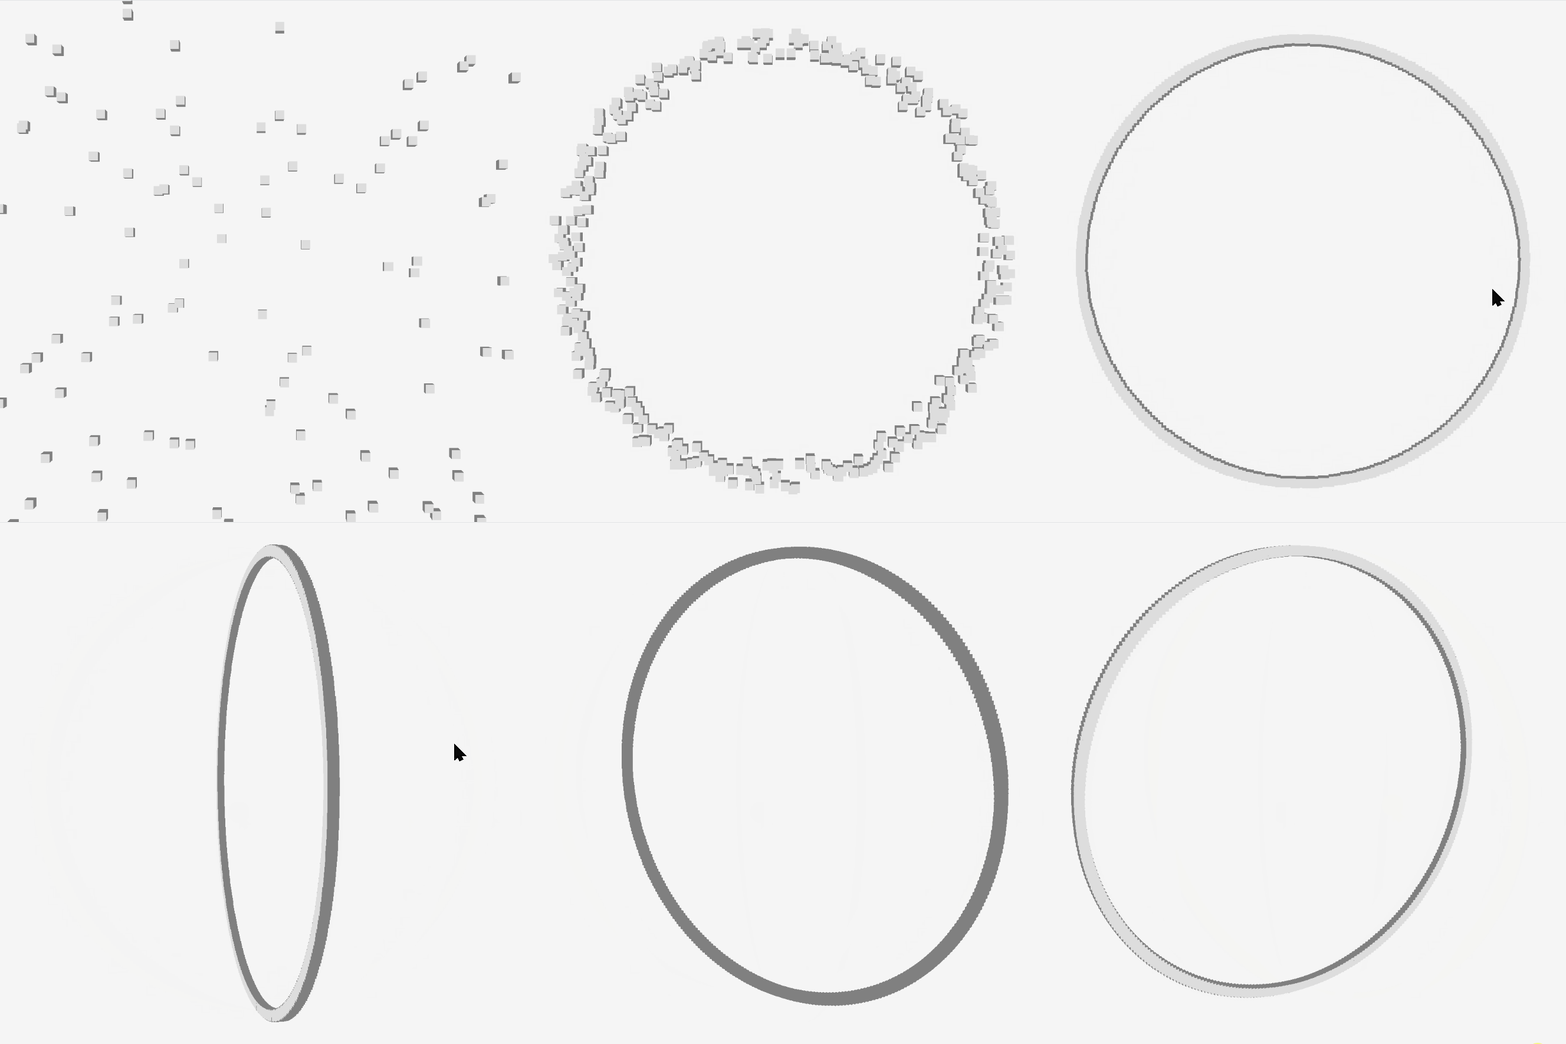
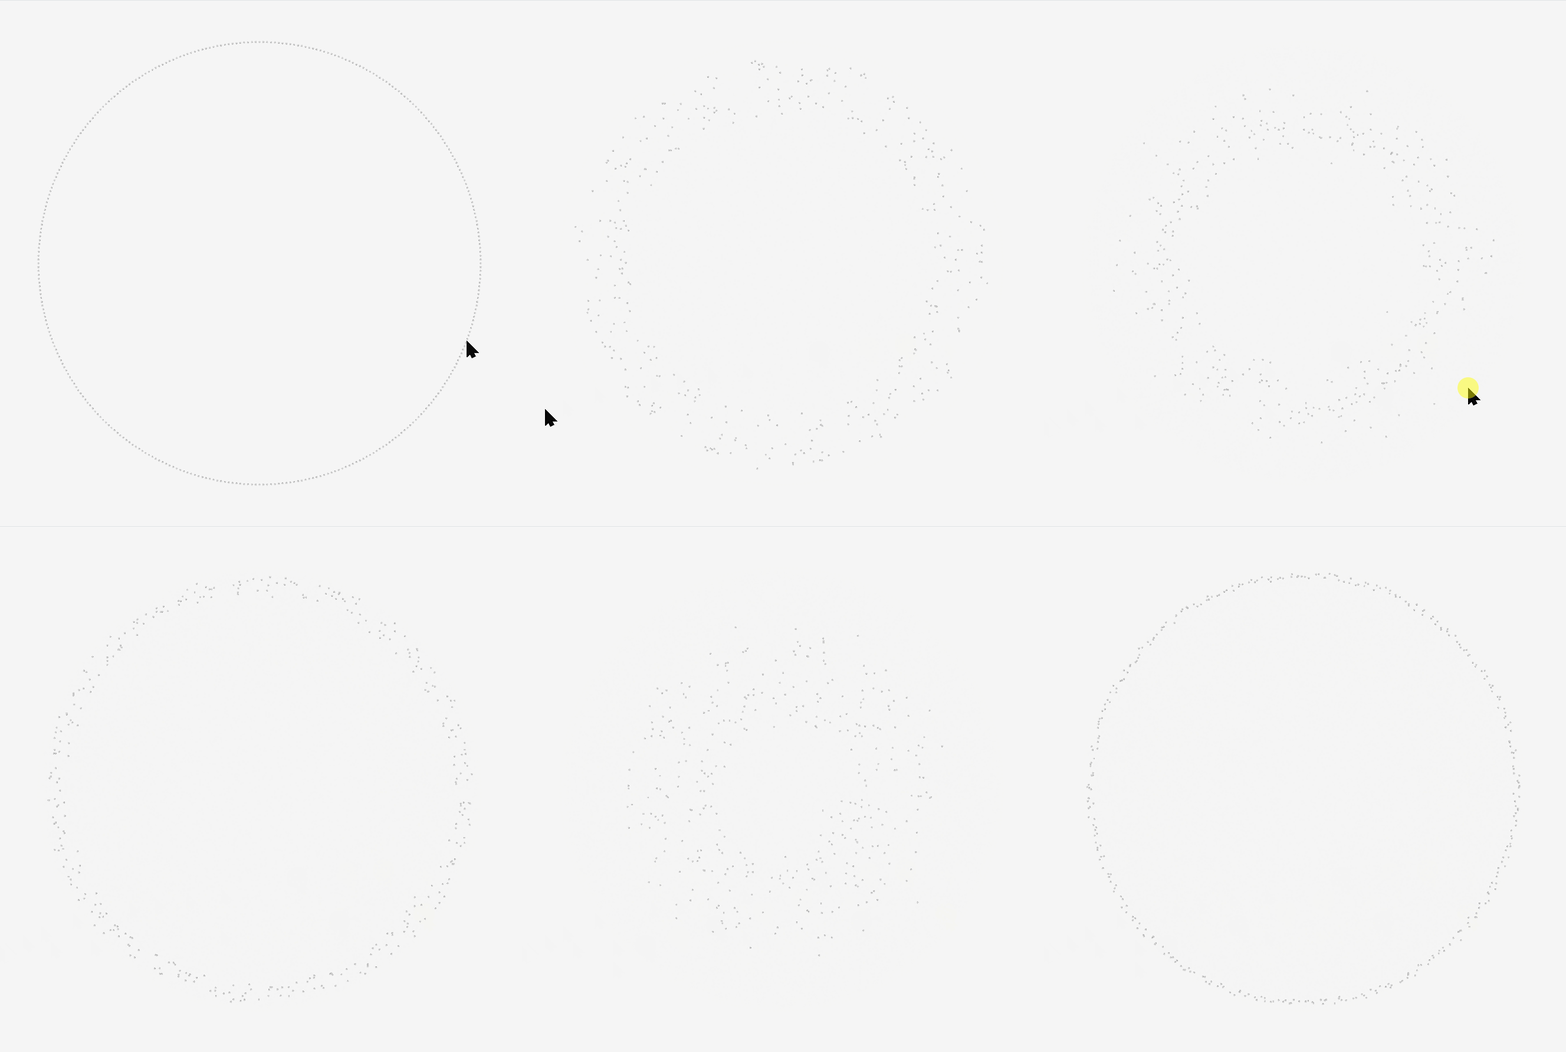
I began with the p5.js compute shader example. The first checkpoints were to place particles on a circle, test orbit control, create several curve distributions with noise, and trigger movement by dragging the mouse.

Circular Particle Targets
The CPU creates a fixed angle for each particle and sends target positions to GPU storage. The compute shader moves every particle toward its target in parallel.
Circle compute shader code
function simulate() {
  const posData = uniformStorage(particles);
  const targetData = uniformStorage(targets);
  const idx = index.x;
  const pos = posData[idx].position;
  const target = targetData[idx].targetPos;

  posData[idx].position = mix(pos, target, 0.05);
}

function updateTargets() {
  const newTargets = angles.map((angle) => ({
    targetPos: createVector(
      cos(angle) * radius,
      sin(angle) * radius,
      0
    )
  }));

  targets.update(newTargets);
}
Testing Line Styles
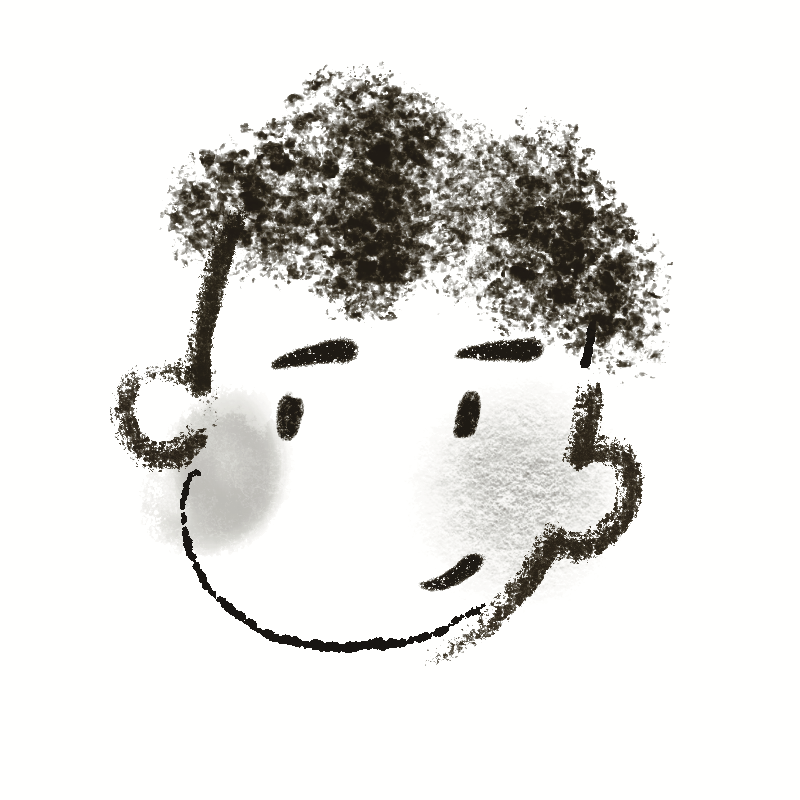
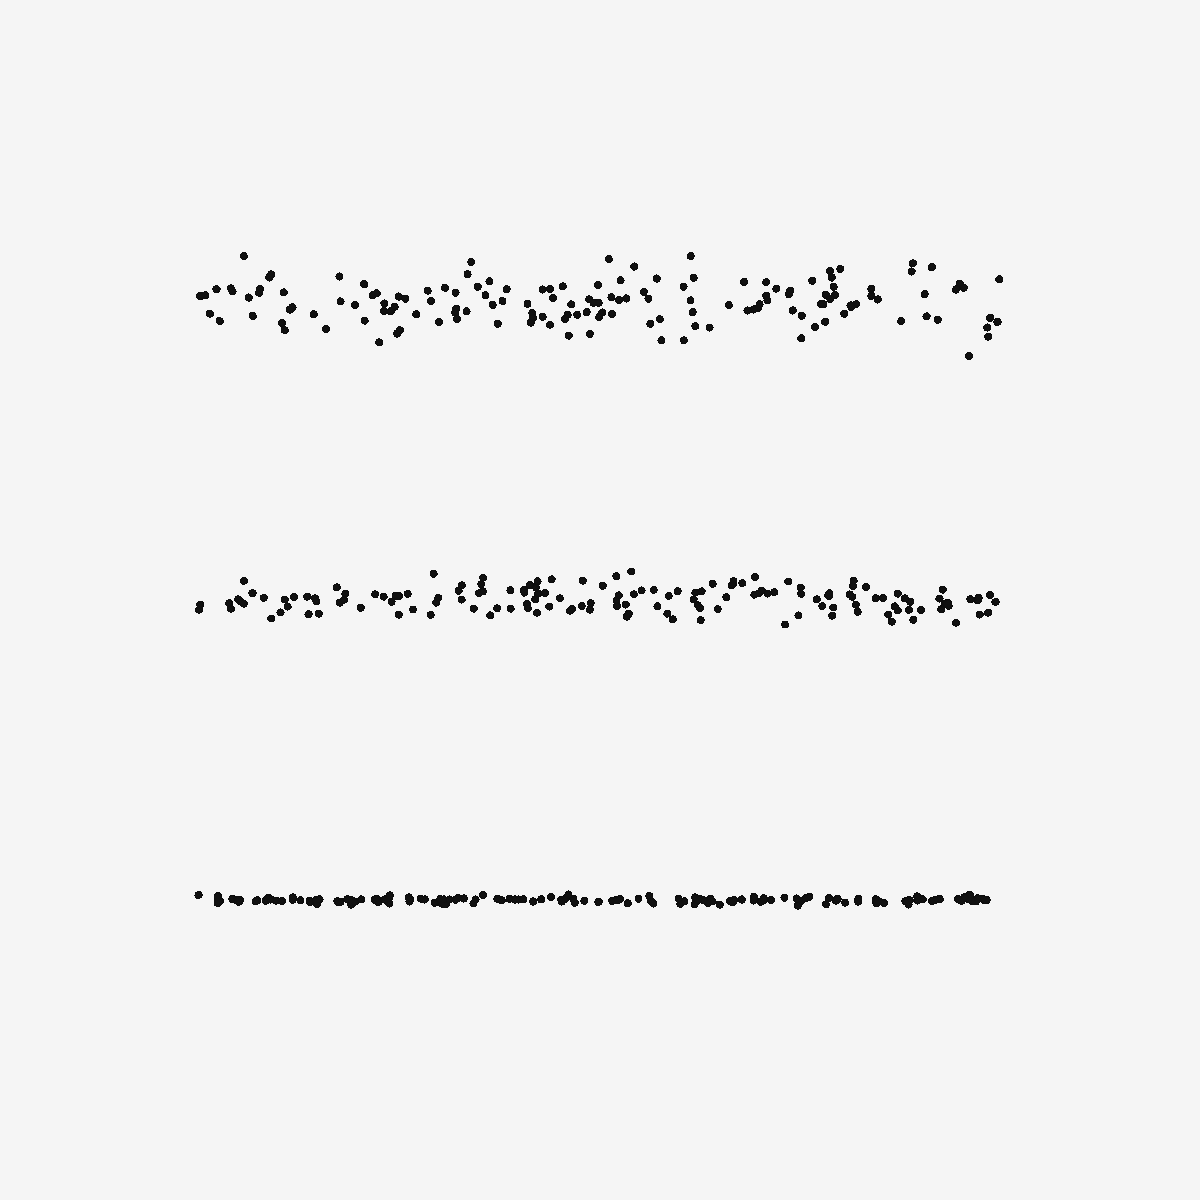
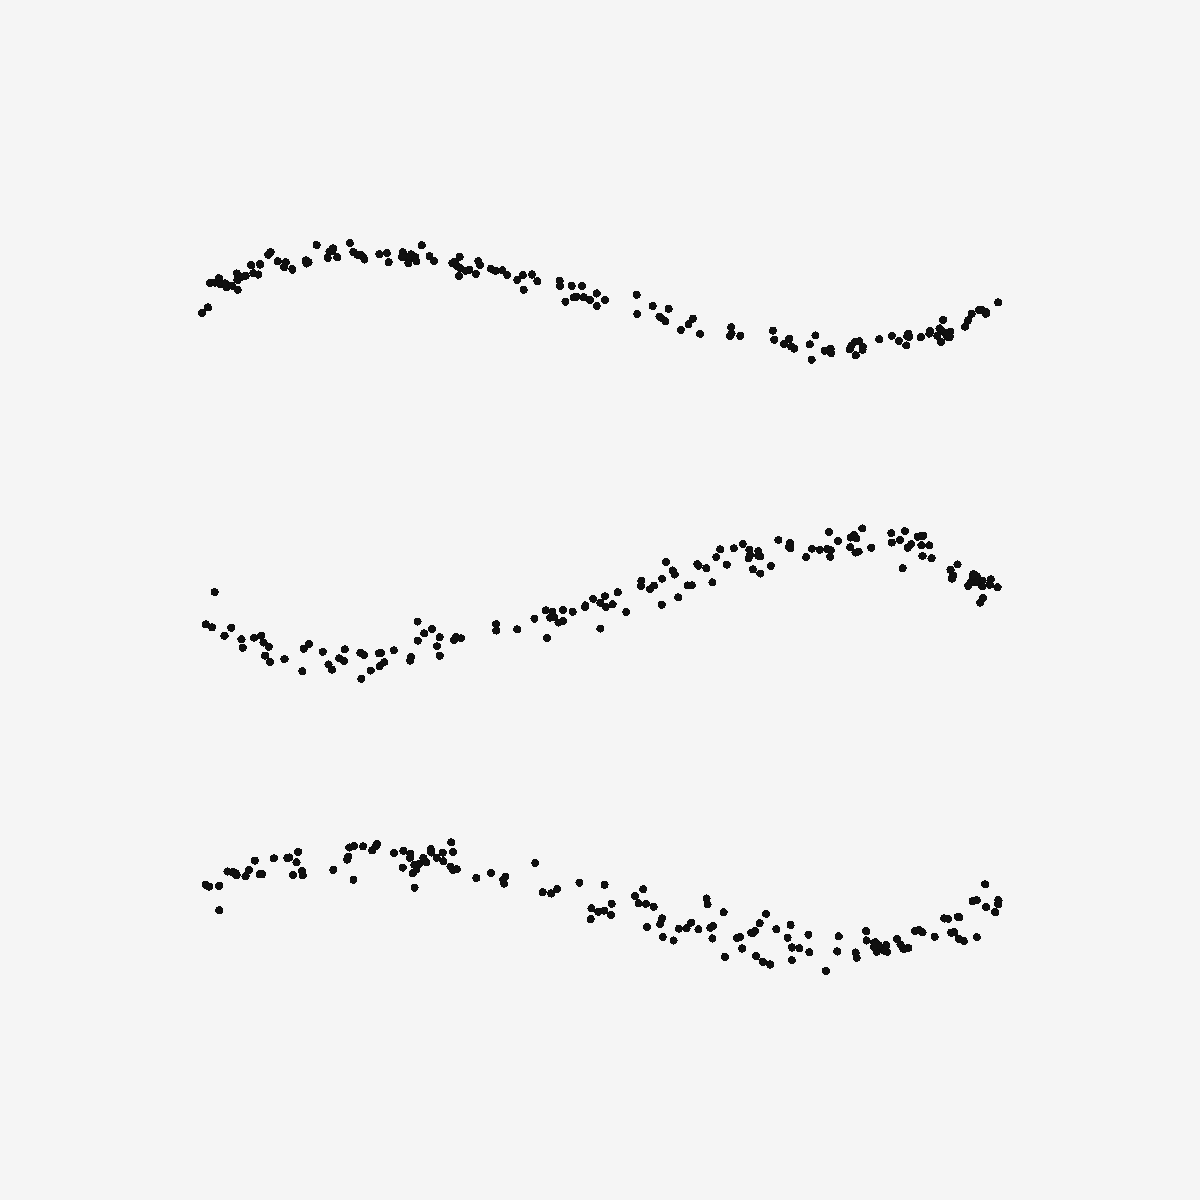
Next, I assigned particles to three lines. Each particle stores a line ID, a position along the line, and a stable noise seed. Different noise frequencies produce smooth, grainy, or rough line qualities.
Line style compute shader code
function simulate() {
  const posData = uniformStorage(particles);
  const metaData = uniformStorage(meta);
  const idx = index.x;
  const sid = metaData[idx].strokeId;
  const t = metaData[idx].t;
  const seed = metaData[idx].seed;

  let x = -LINE_LEN / 2.0 + t * LINE_LEN;
  let target = vec3(0.0, 0.0, 0.0);

  if (sid < 0.5) {
    const n = noise(t * 3.0, seed) - 0.5;
    target = vec3(x, -150.0 + n * 50.0, 0.0);
  } else if (sid < 1.5) {
    const nx = noise(t * 30.0, seed) - 0.5;
    const ny = noise(t * 30.0, seed + 100.0) - 0.5;
    target = vec3(x + nx * 15.0, ny * 25.0, 0.0);
  } else {
    const largeNoise = noise(t * 20.0, seed) - 0.5;
    const smallNoise = noise(t * 25.0, seed + 200.0) - 0.5;
    target = vec3(x + smallNoise * 15.0,
      150.0 + largeNoise * 5.0 + smallNoise * 2.0, 0.0);
  }

  posData[idx].position = mix(posData[idx].position, target, 0.08);
}
Preparing the Face Data
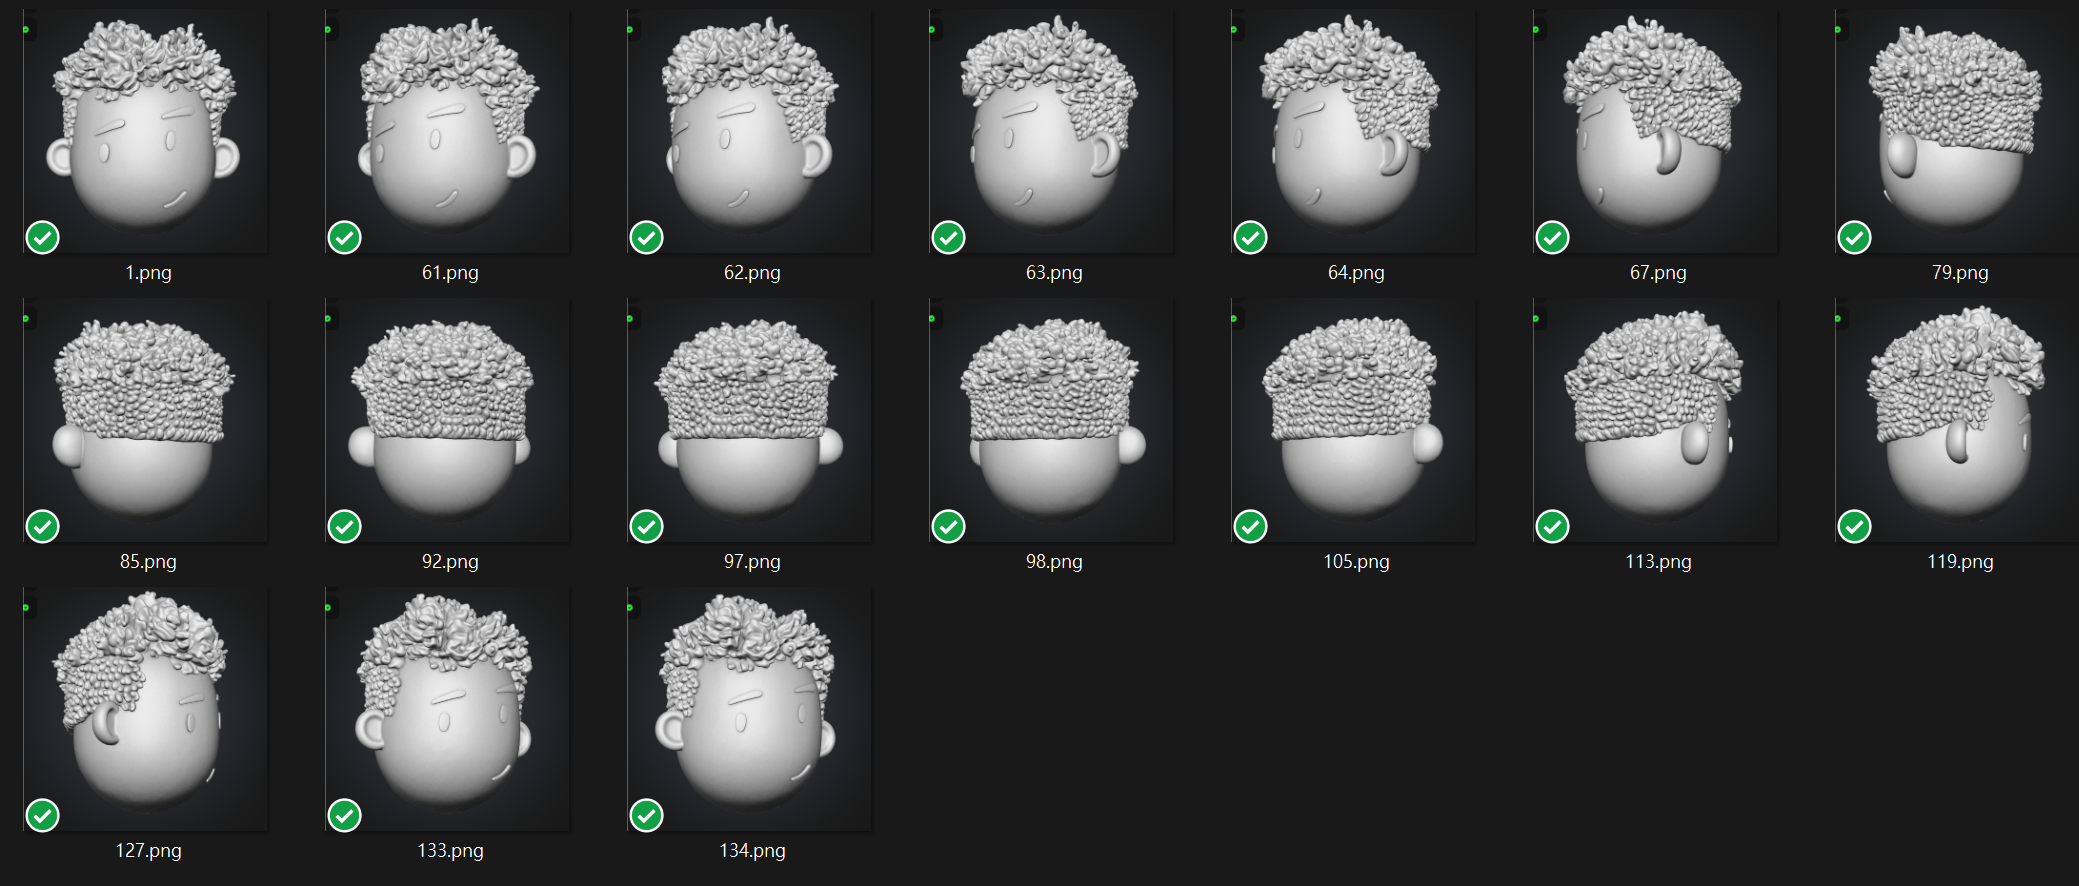
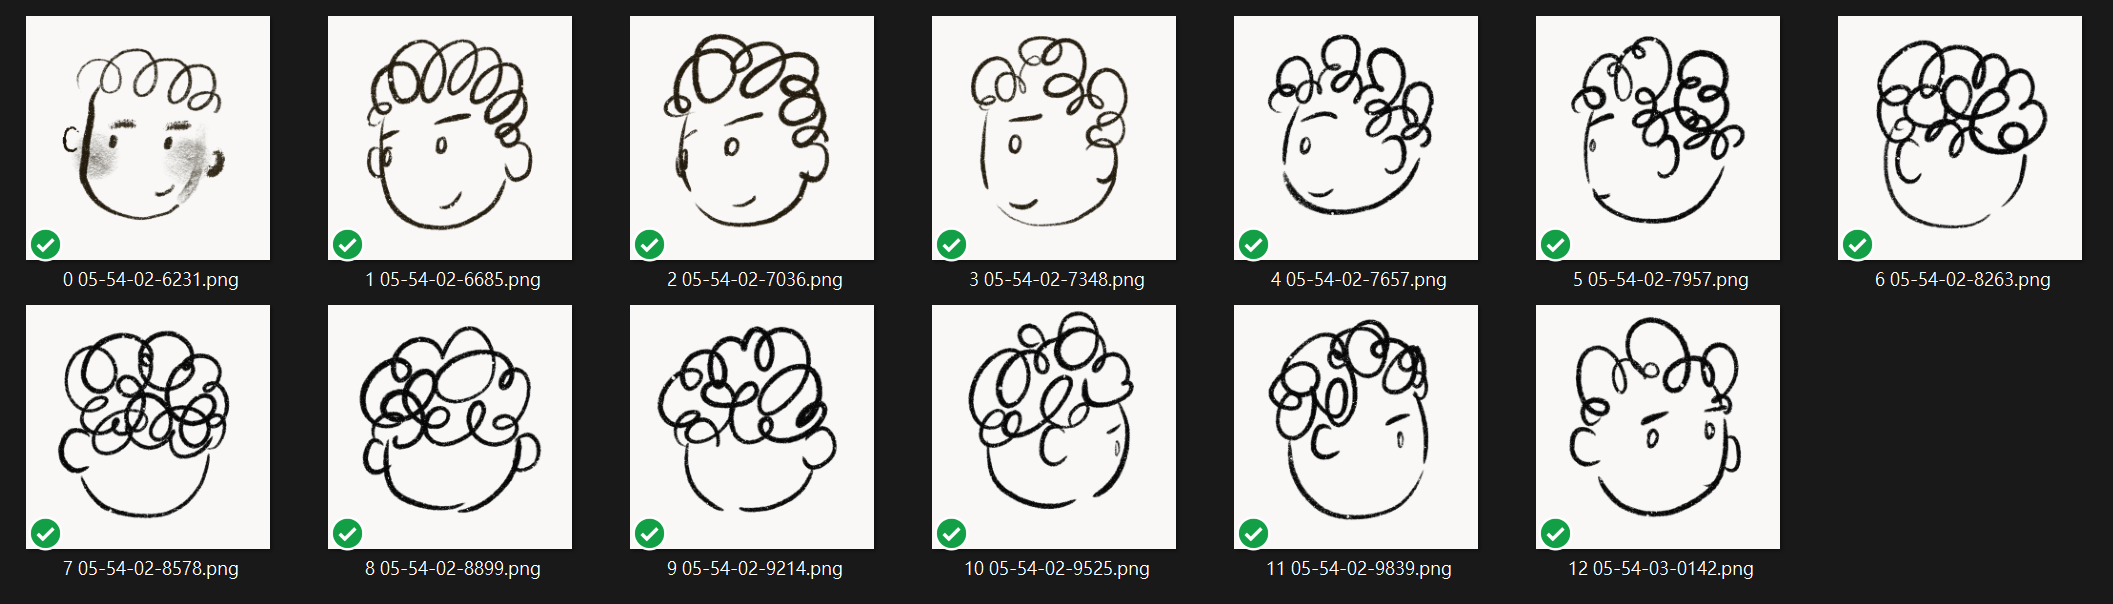
I first used an AI tool to create a simple three-dimensional head based on the design sketch. I then generated several views in Procreate and recreated each view as curves in Rhino/Grasshopper.

From Curves to Points
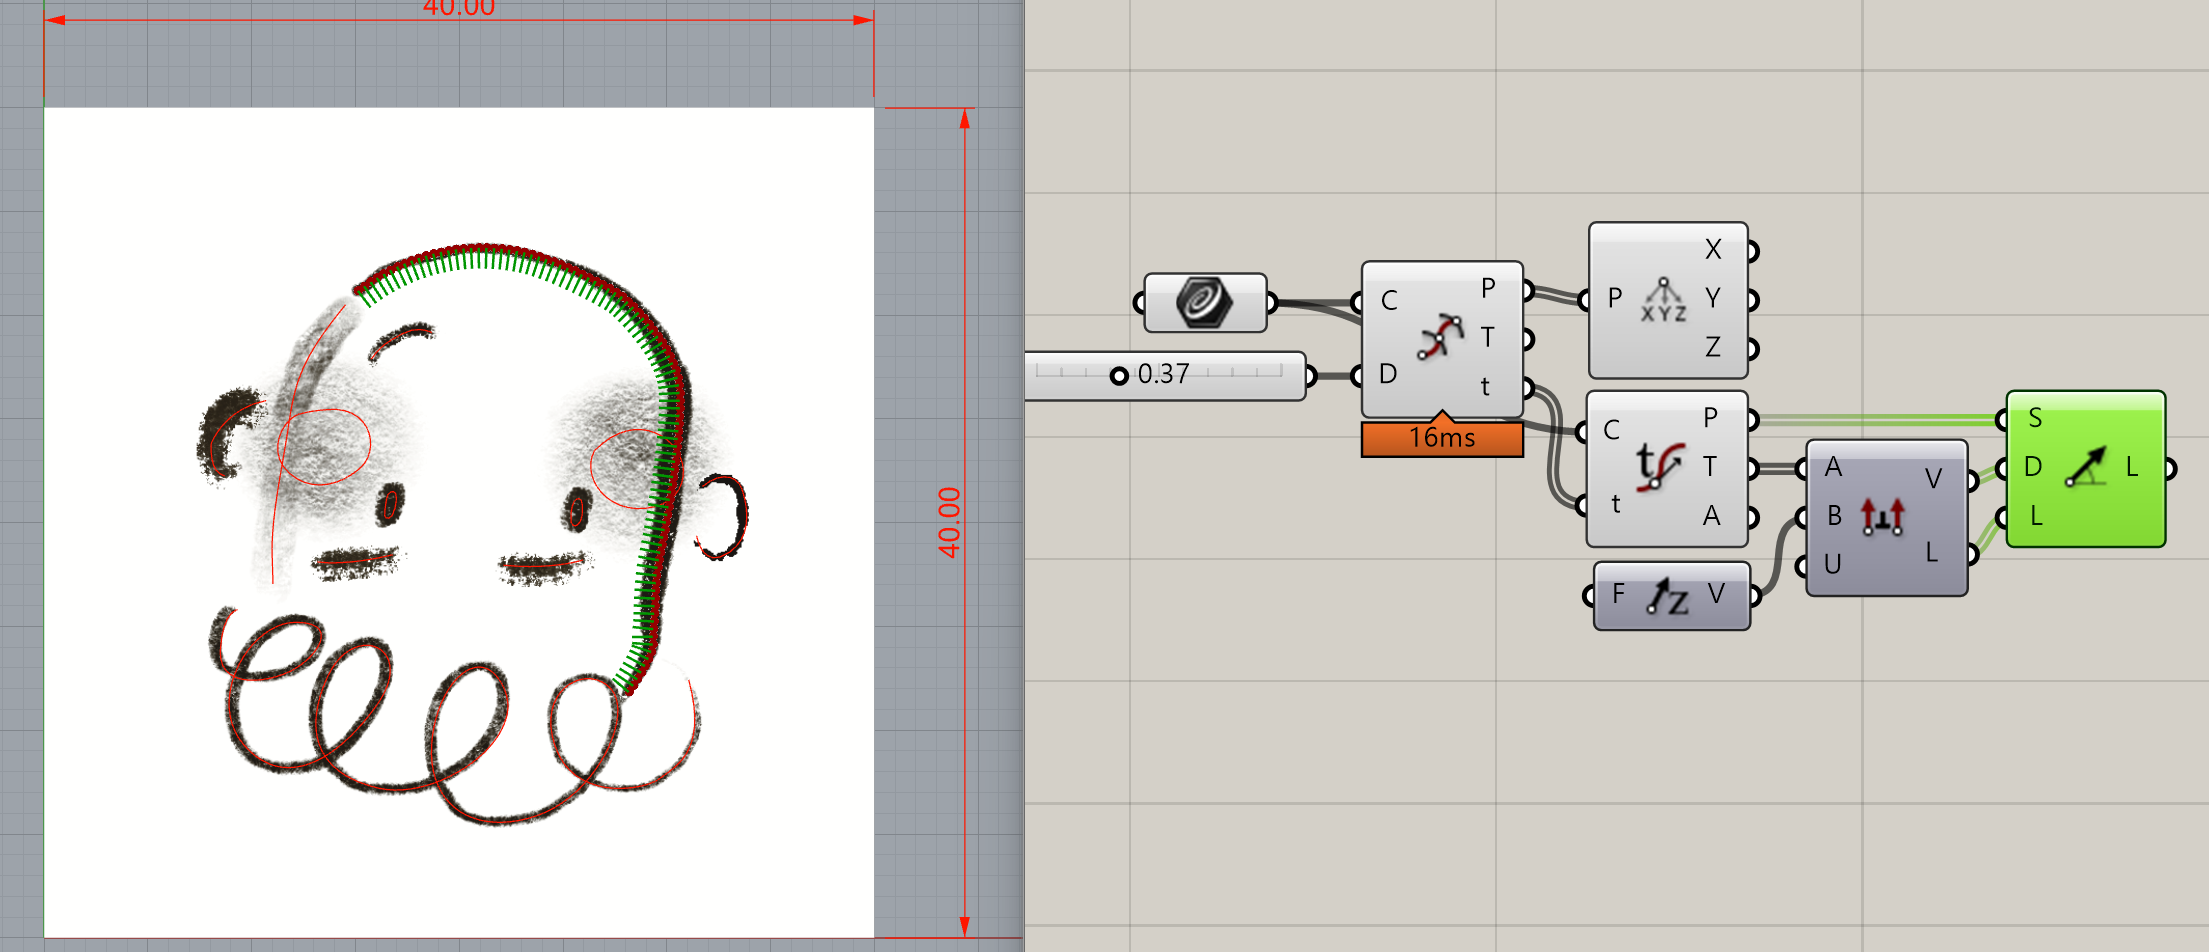
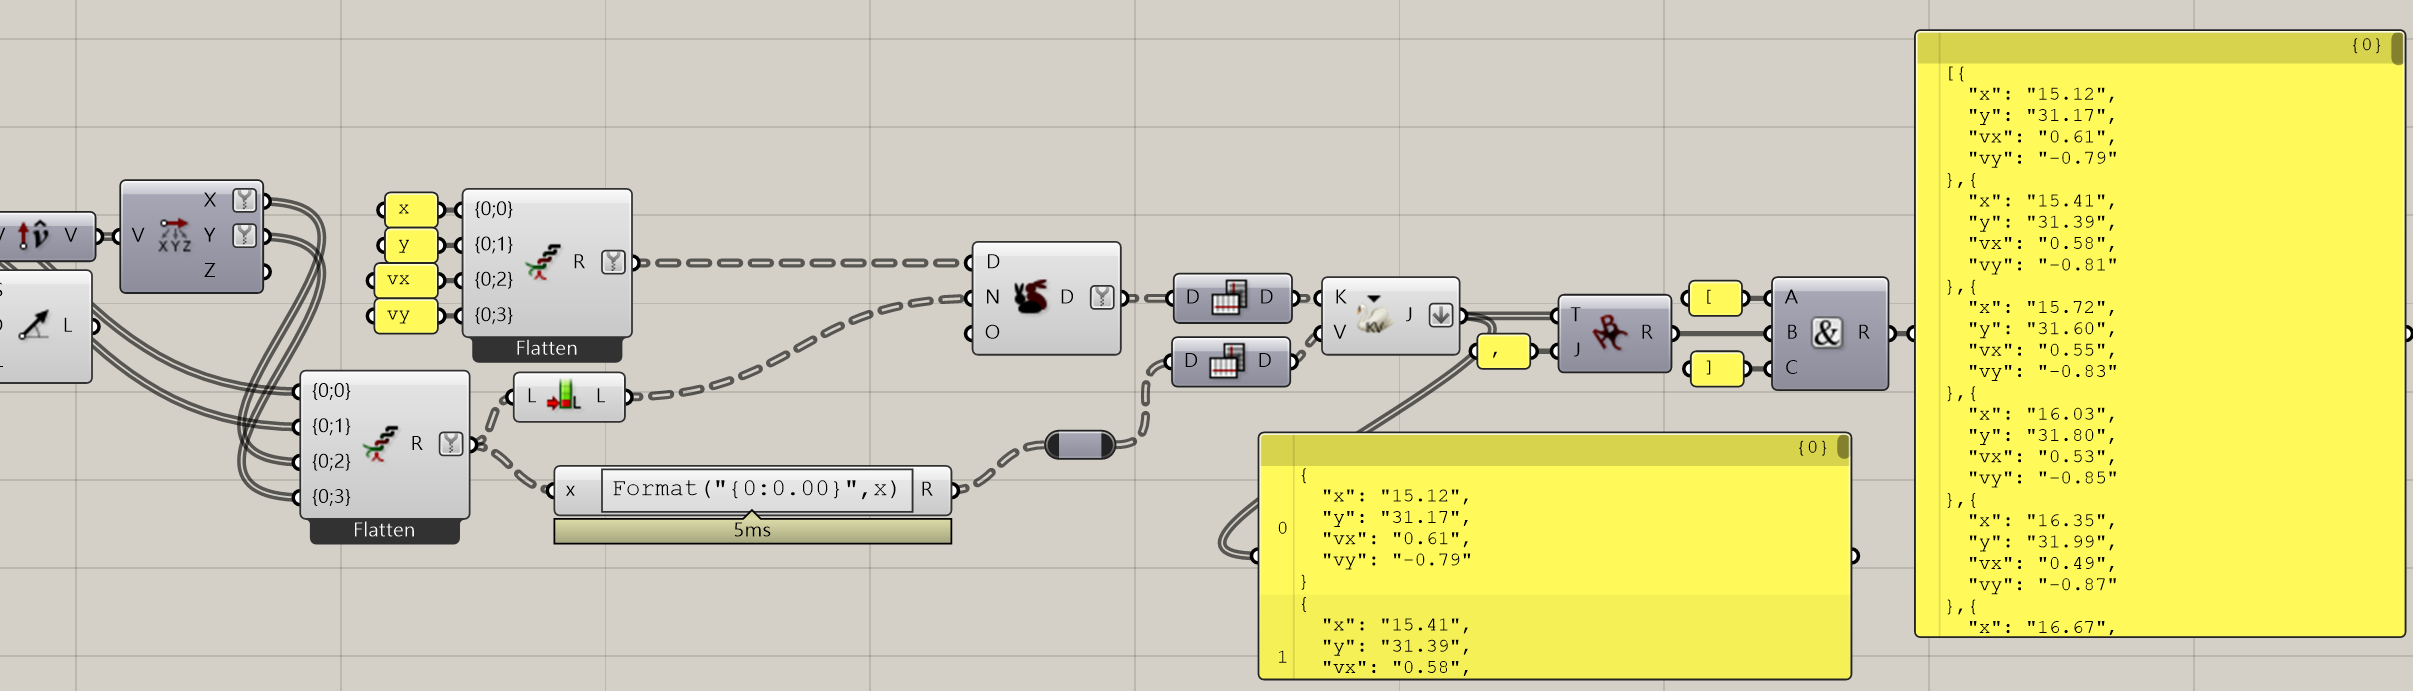
The curves were divided into point data in Grasshopper. Each point also stores a normal vector that can control the direction and appearance of its particle.
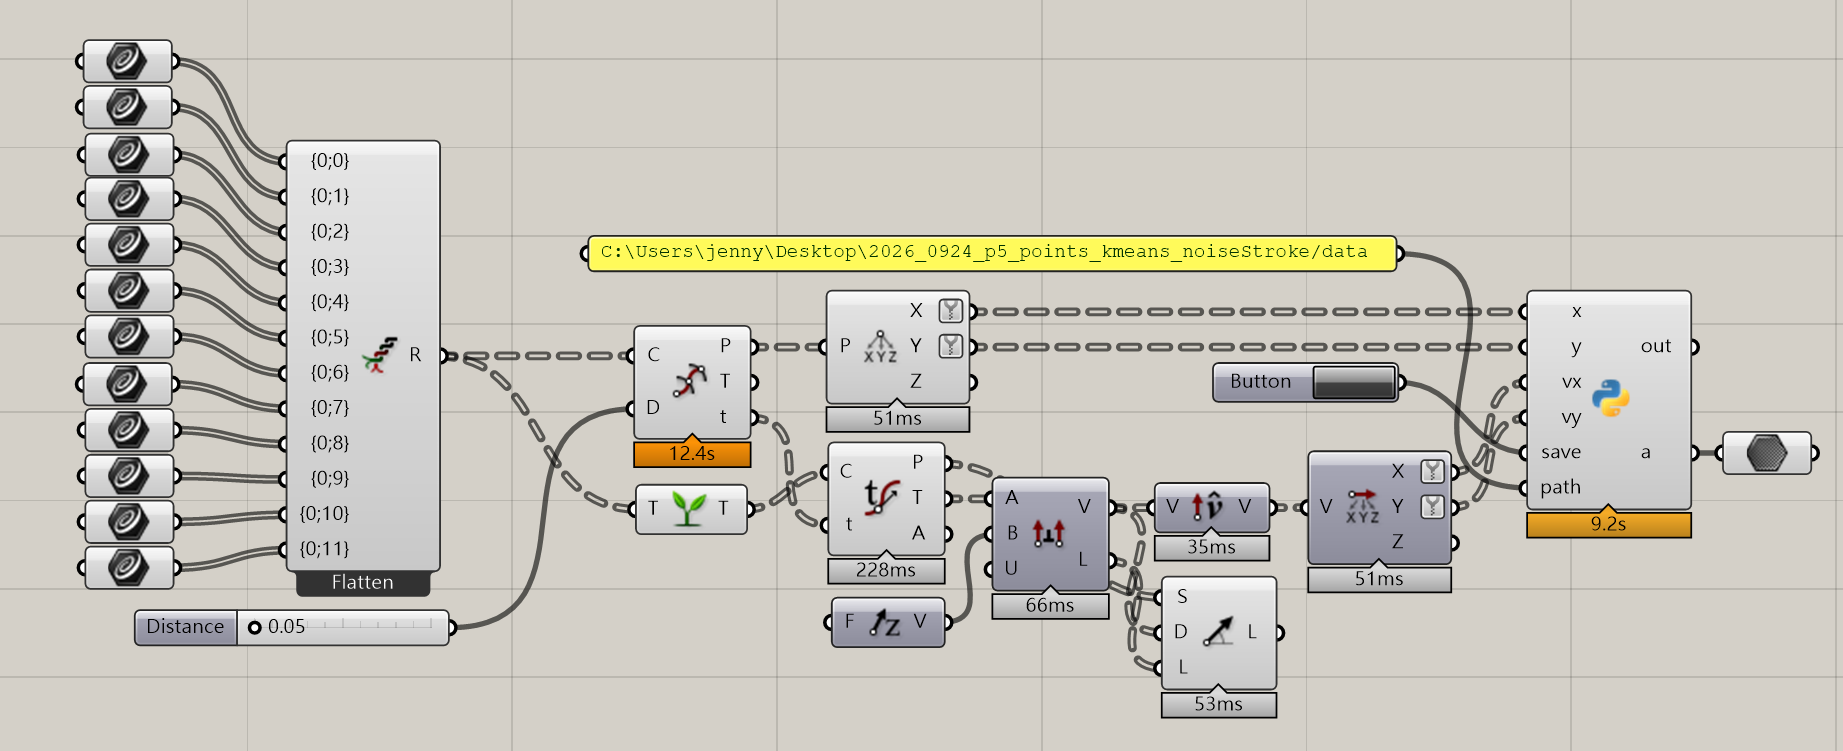
JSON Data Structure
I organized the data as Face → Lines → Points. Each face has an ID, and each line has its own style parameters and list of points.
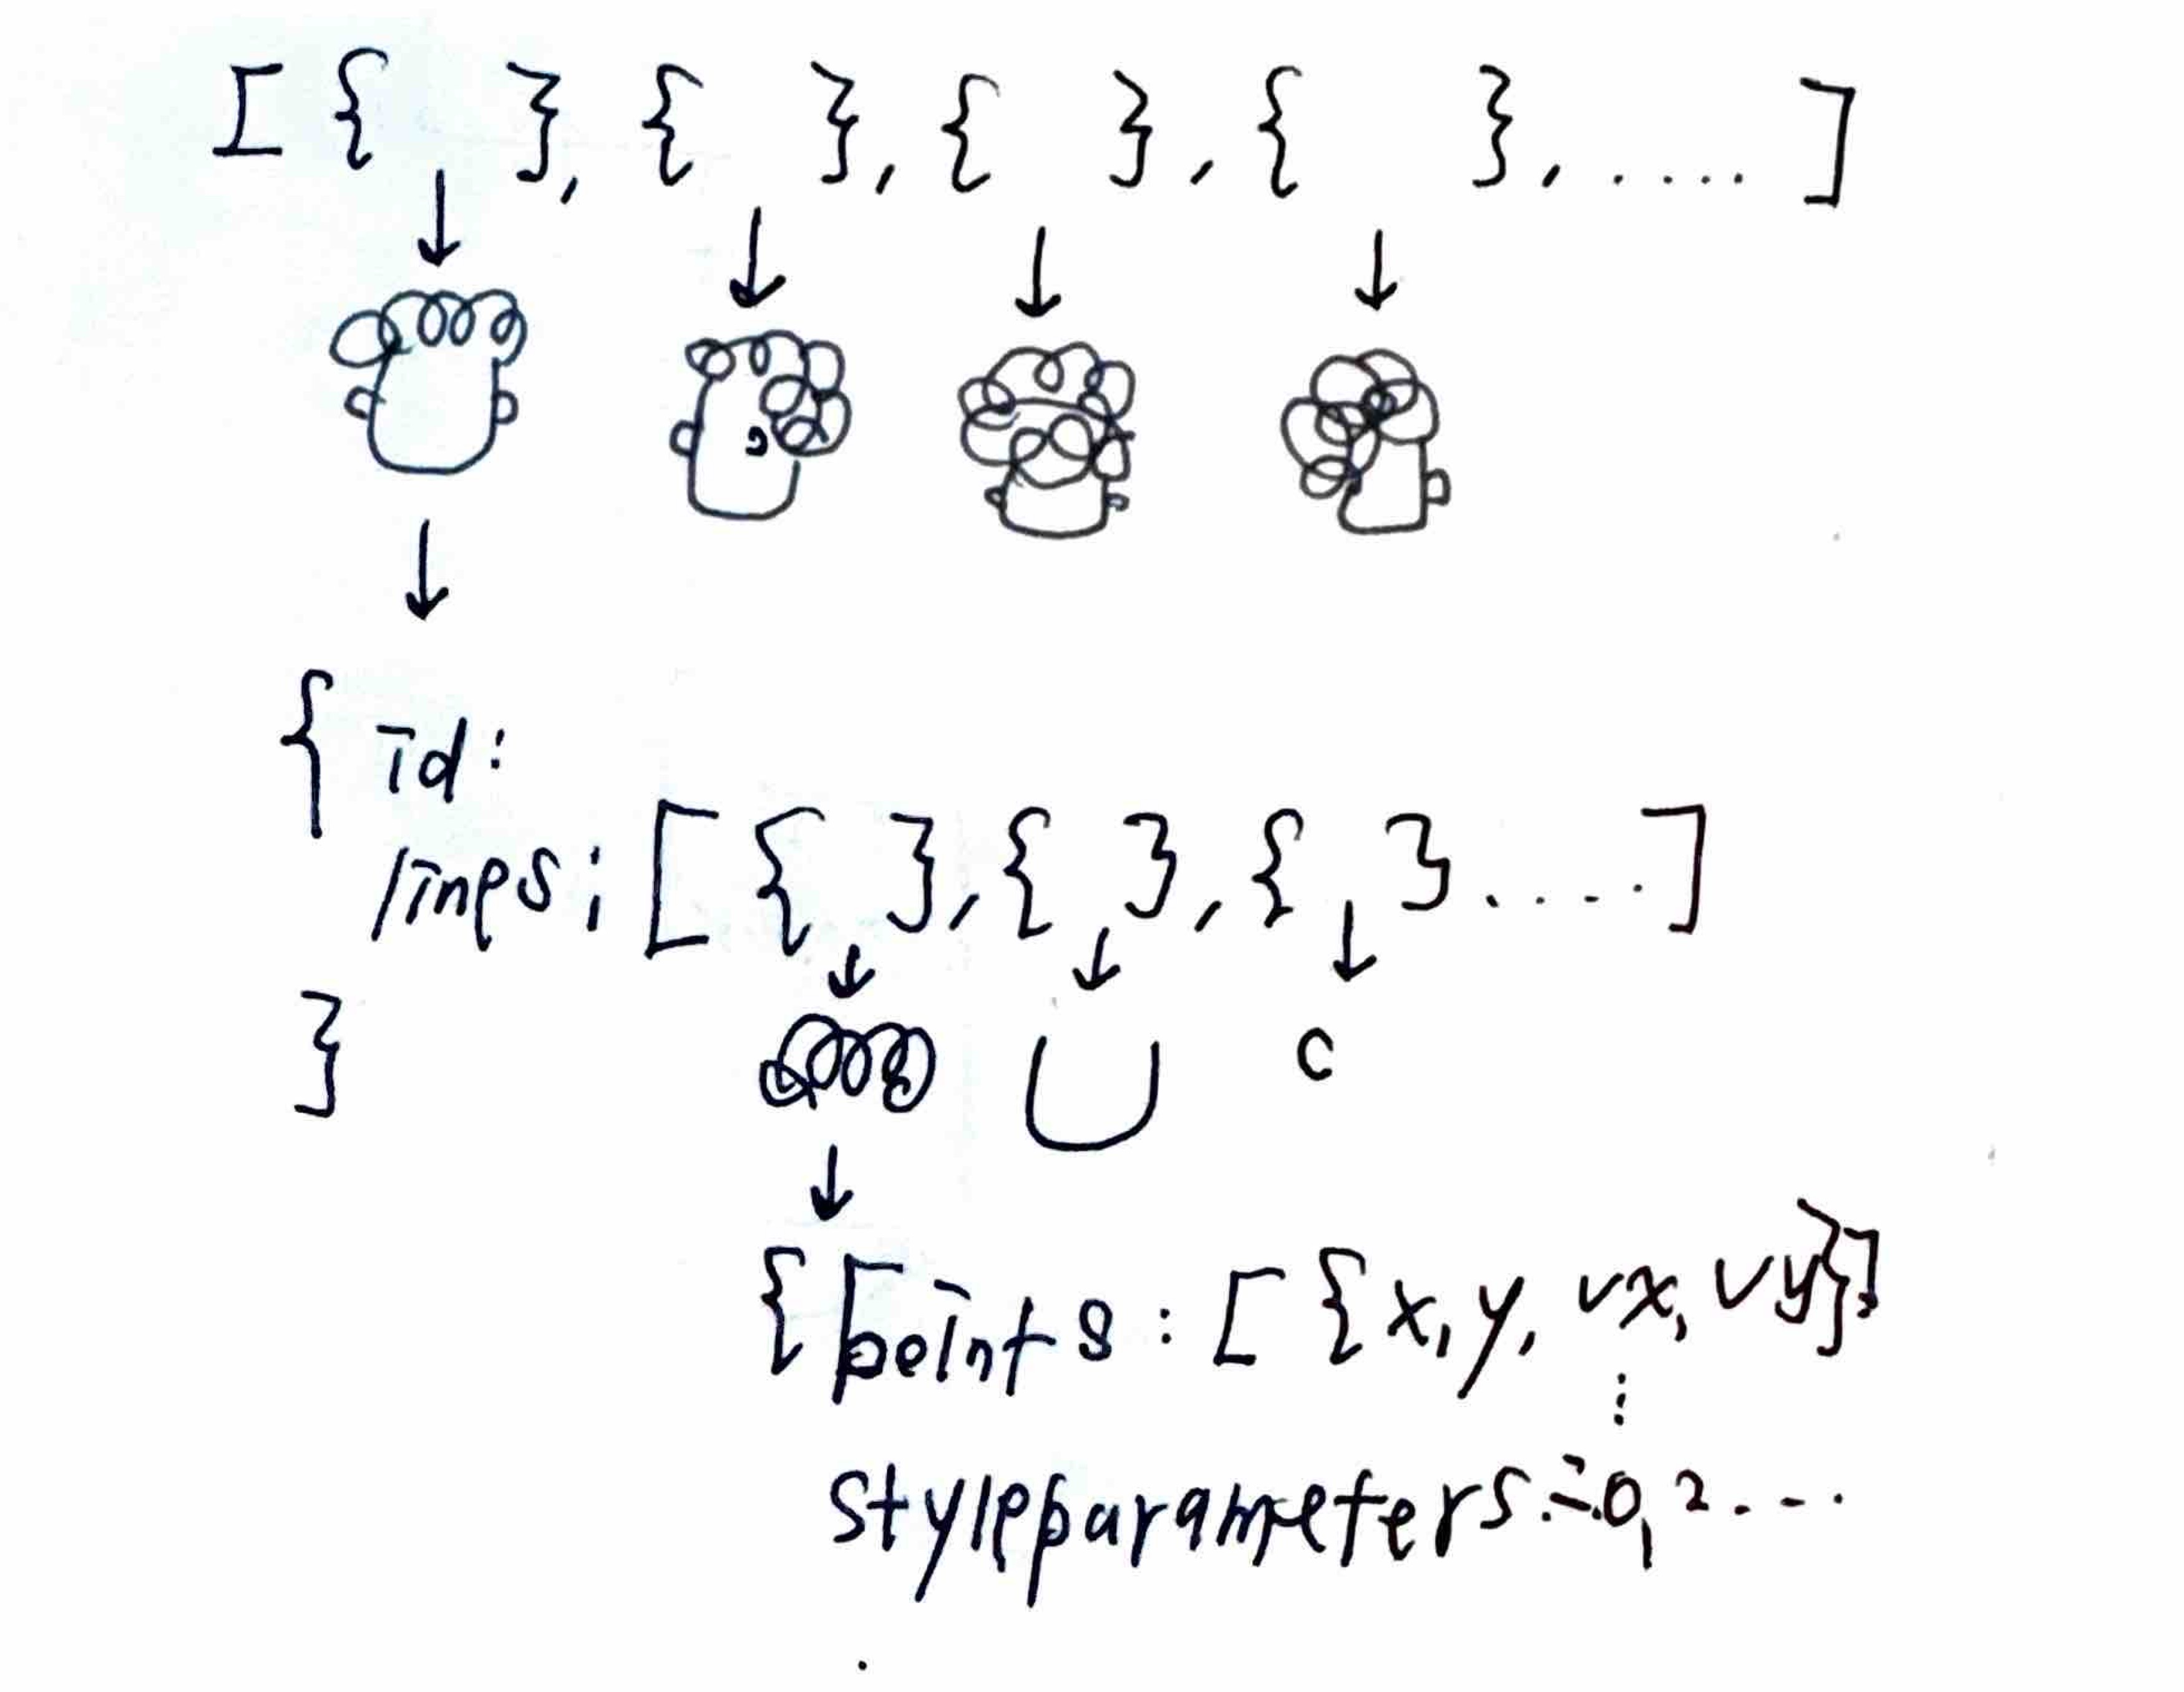
[
  {
    id: 0,
    lines: [
      {
        styleParameters: 0,
        points: [
          { x, y, vx, vy },
          // ...
        ]
      },
      { styleParameters: 1, points: [] },
      { styleParameters: 2, points: [] }
    ]
  },
  { id: 1, lines: [] }
]
Drawing the Interactive Face
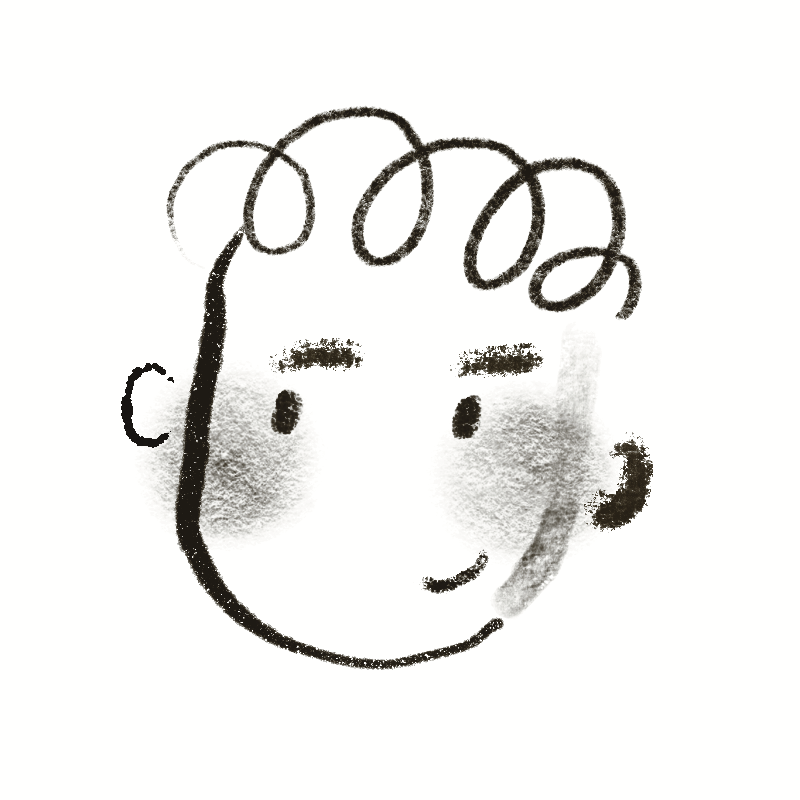
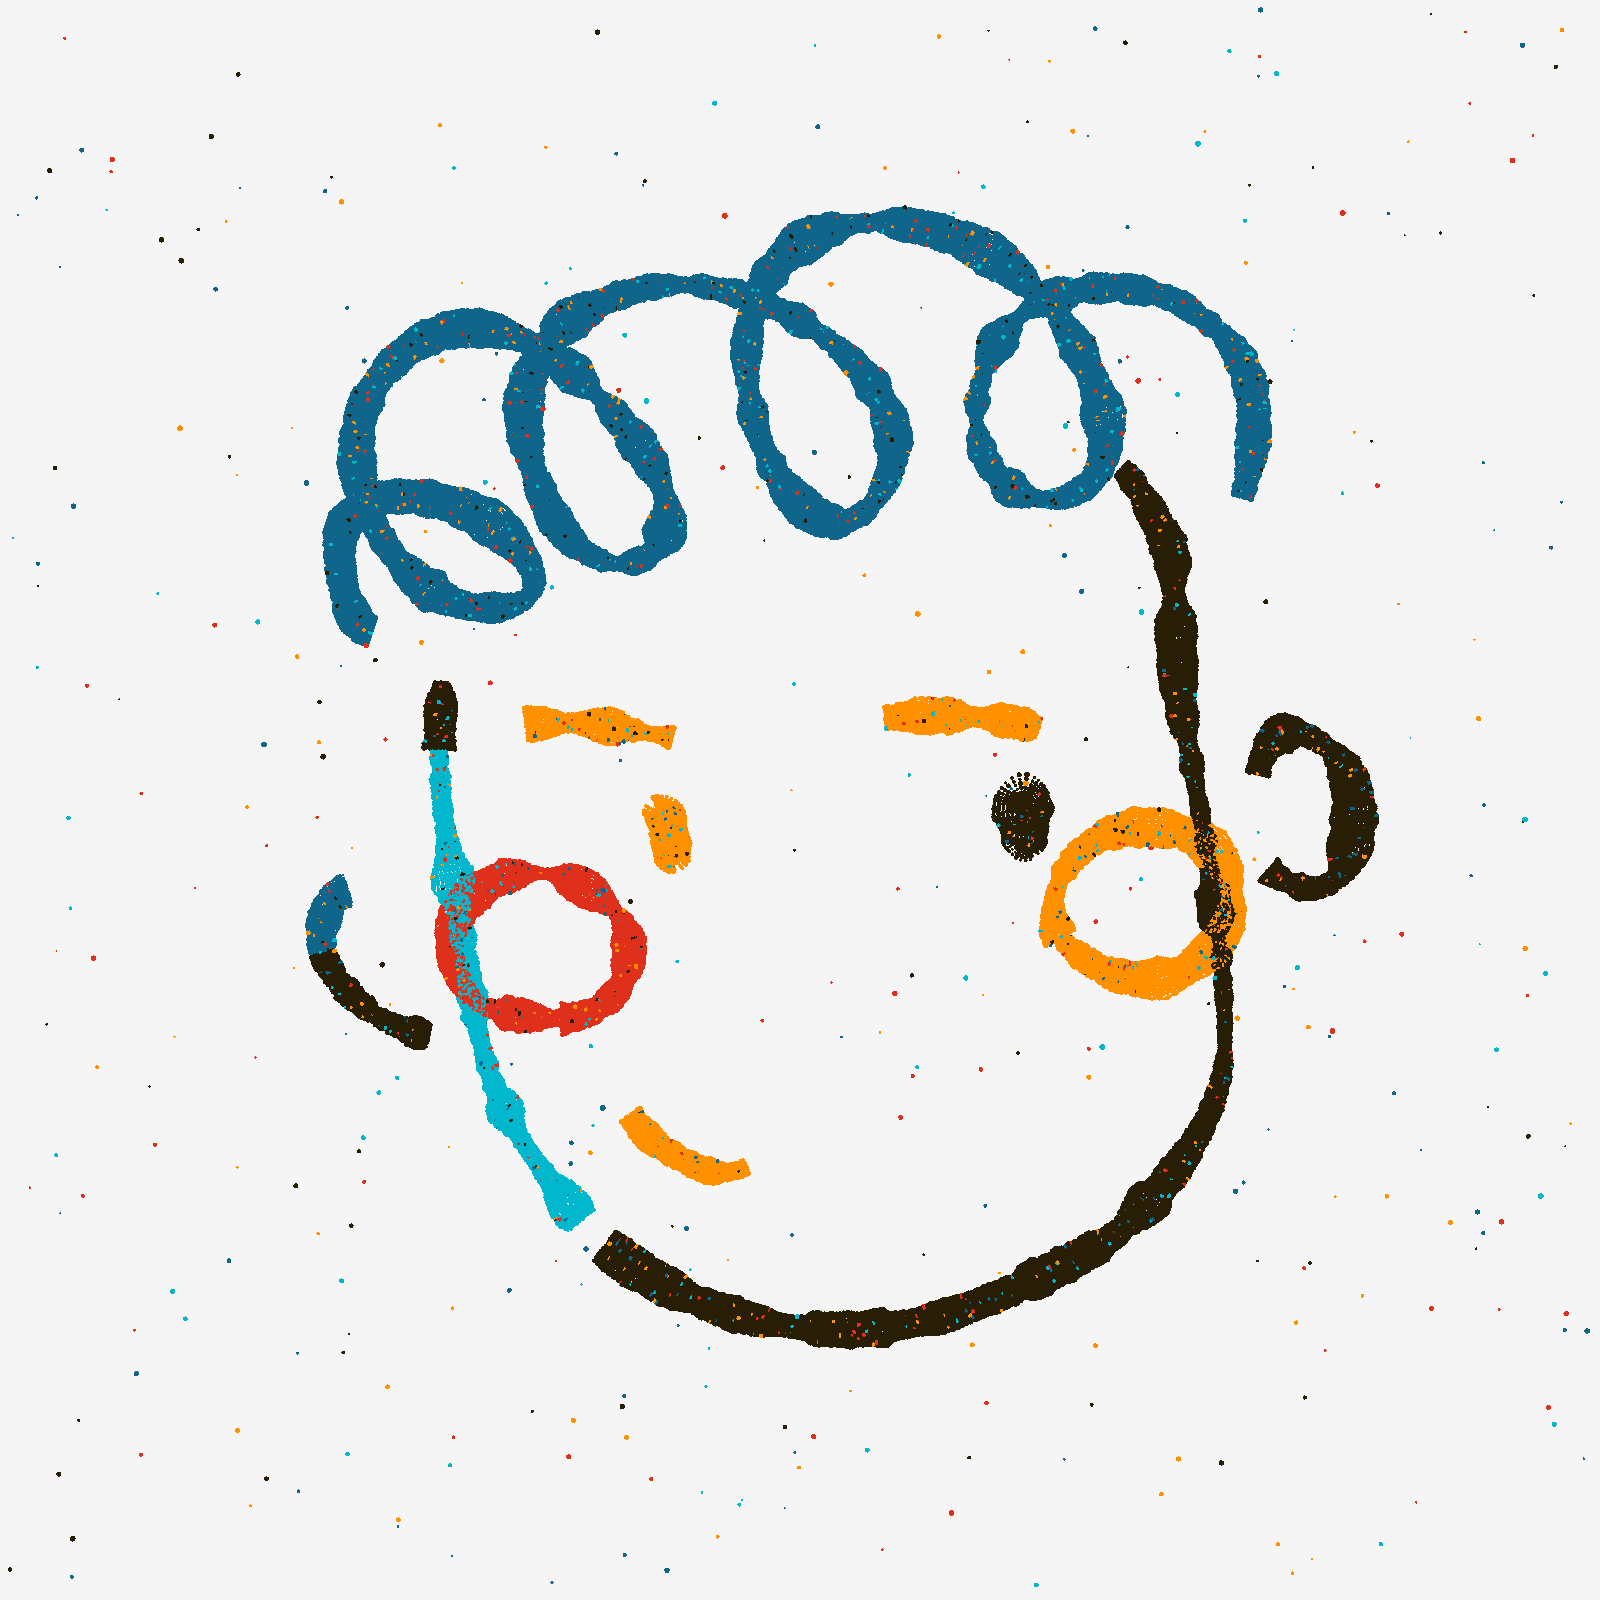
The horizontal mouse position selects different face IDs. Moving left or right changes the view and creates the illusion that the face is rotating.
I tested line weight, noise, and particle radius before applying the settings to the full portrait.





References